Rasam Podi

What comes to your mind when you think of rasam? To me comfort is the first thought that comes to my mind. A piping hot rasam can take care of anything. A perfect smelling rasam gives a cue for appetite. I love my fair share of rasam for those rainy days and sick days.
When I think of rasam, the next thing that comes to my mind is my father- in- law. He is an ardent rasam lover. Not just any rasam, paruppu rasam is his favorite. Even if we have pulao or biryani at home, there should be rasam. He always talks about how my co-sister’s rasam tastes just like his grandma’s and how scrumptious it is. So here is a rasam podi combination that is approved by a passionate rasam enthusiast.
This recipe comes from our samayal mami (our ritual day cook), who we call when we need an extra hand with cooking help during domestic function at home. Both my rasam podi and puliyothrai recipe comes from here. She says, the rasam podi needs to be a little coarser than sambar podi. The texture itself will bring out all the difference in the world of cooking.
I started making a huge batch of rasam podi for us here at home using my vitamix (blender). Mostly during summer, I try to utilize the heat wave and sun dry all the spices to crisp and make powder out of it. During colder months, I dry roast the same. There were times I hand pound especially when we have guest at home for that fresh smelling rasam
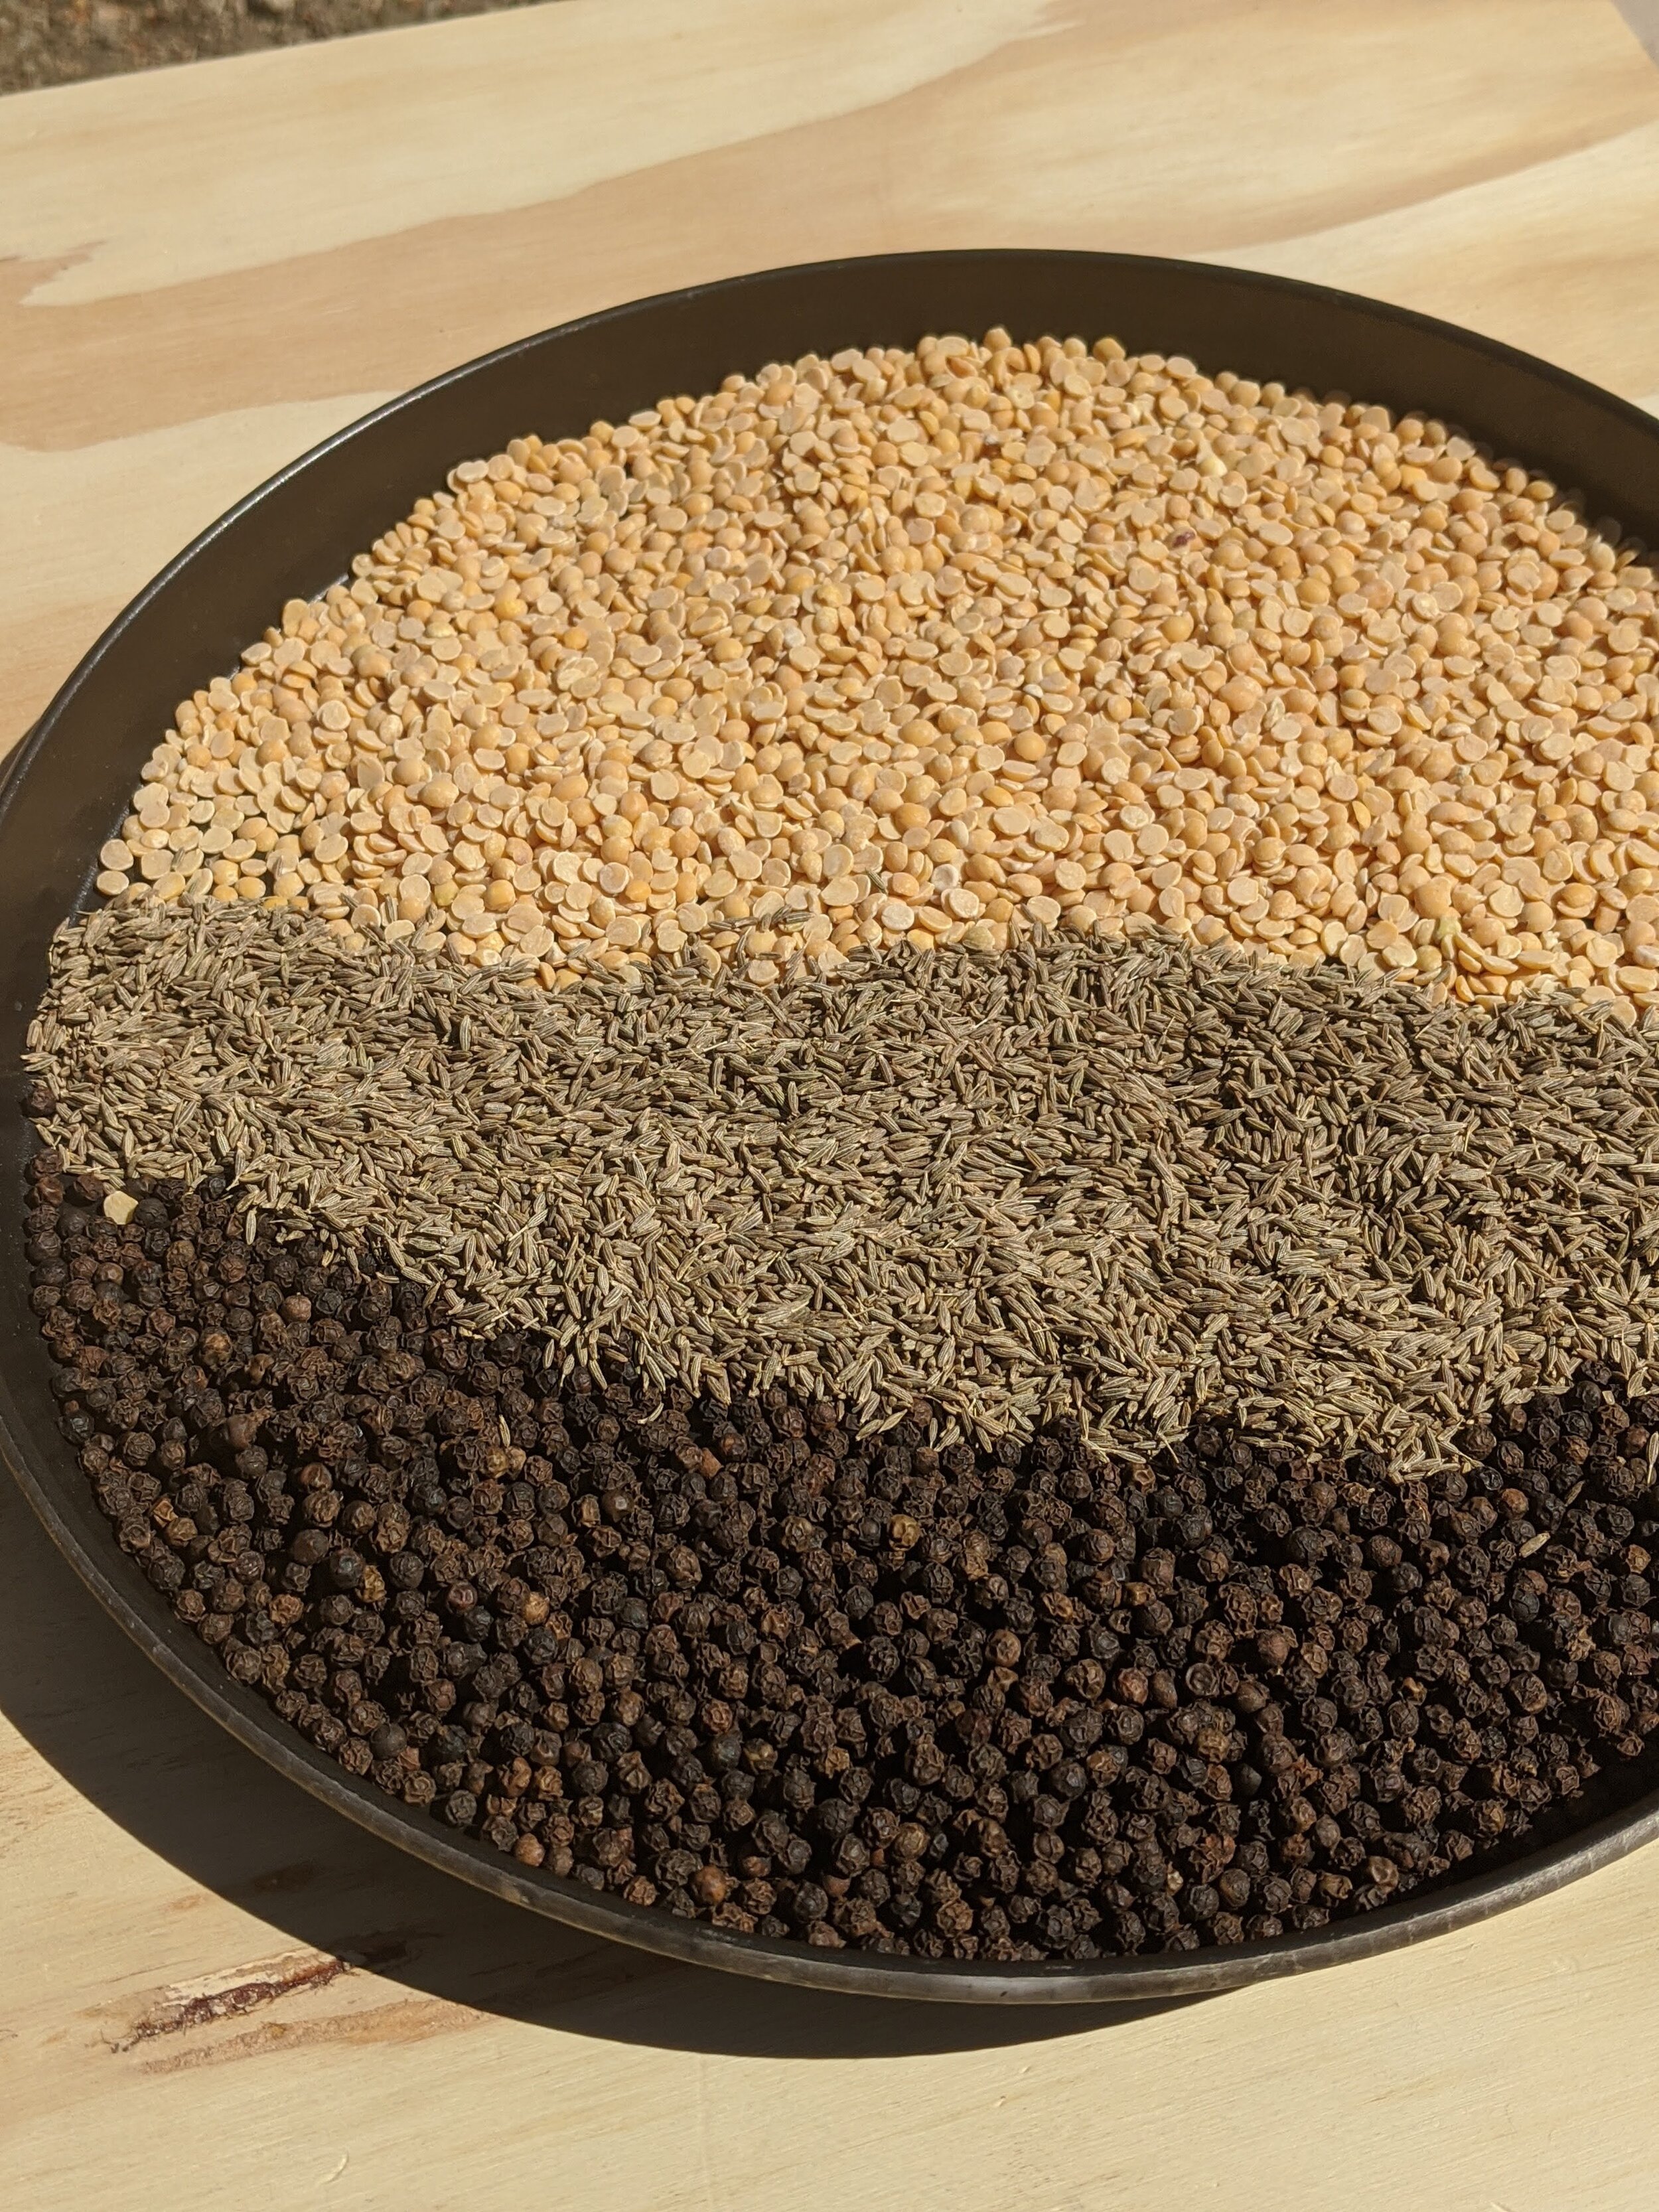
Ingredients
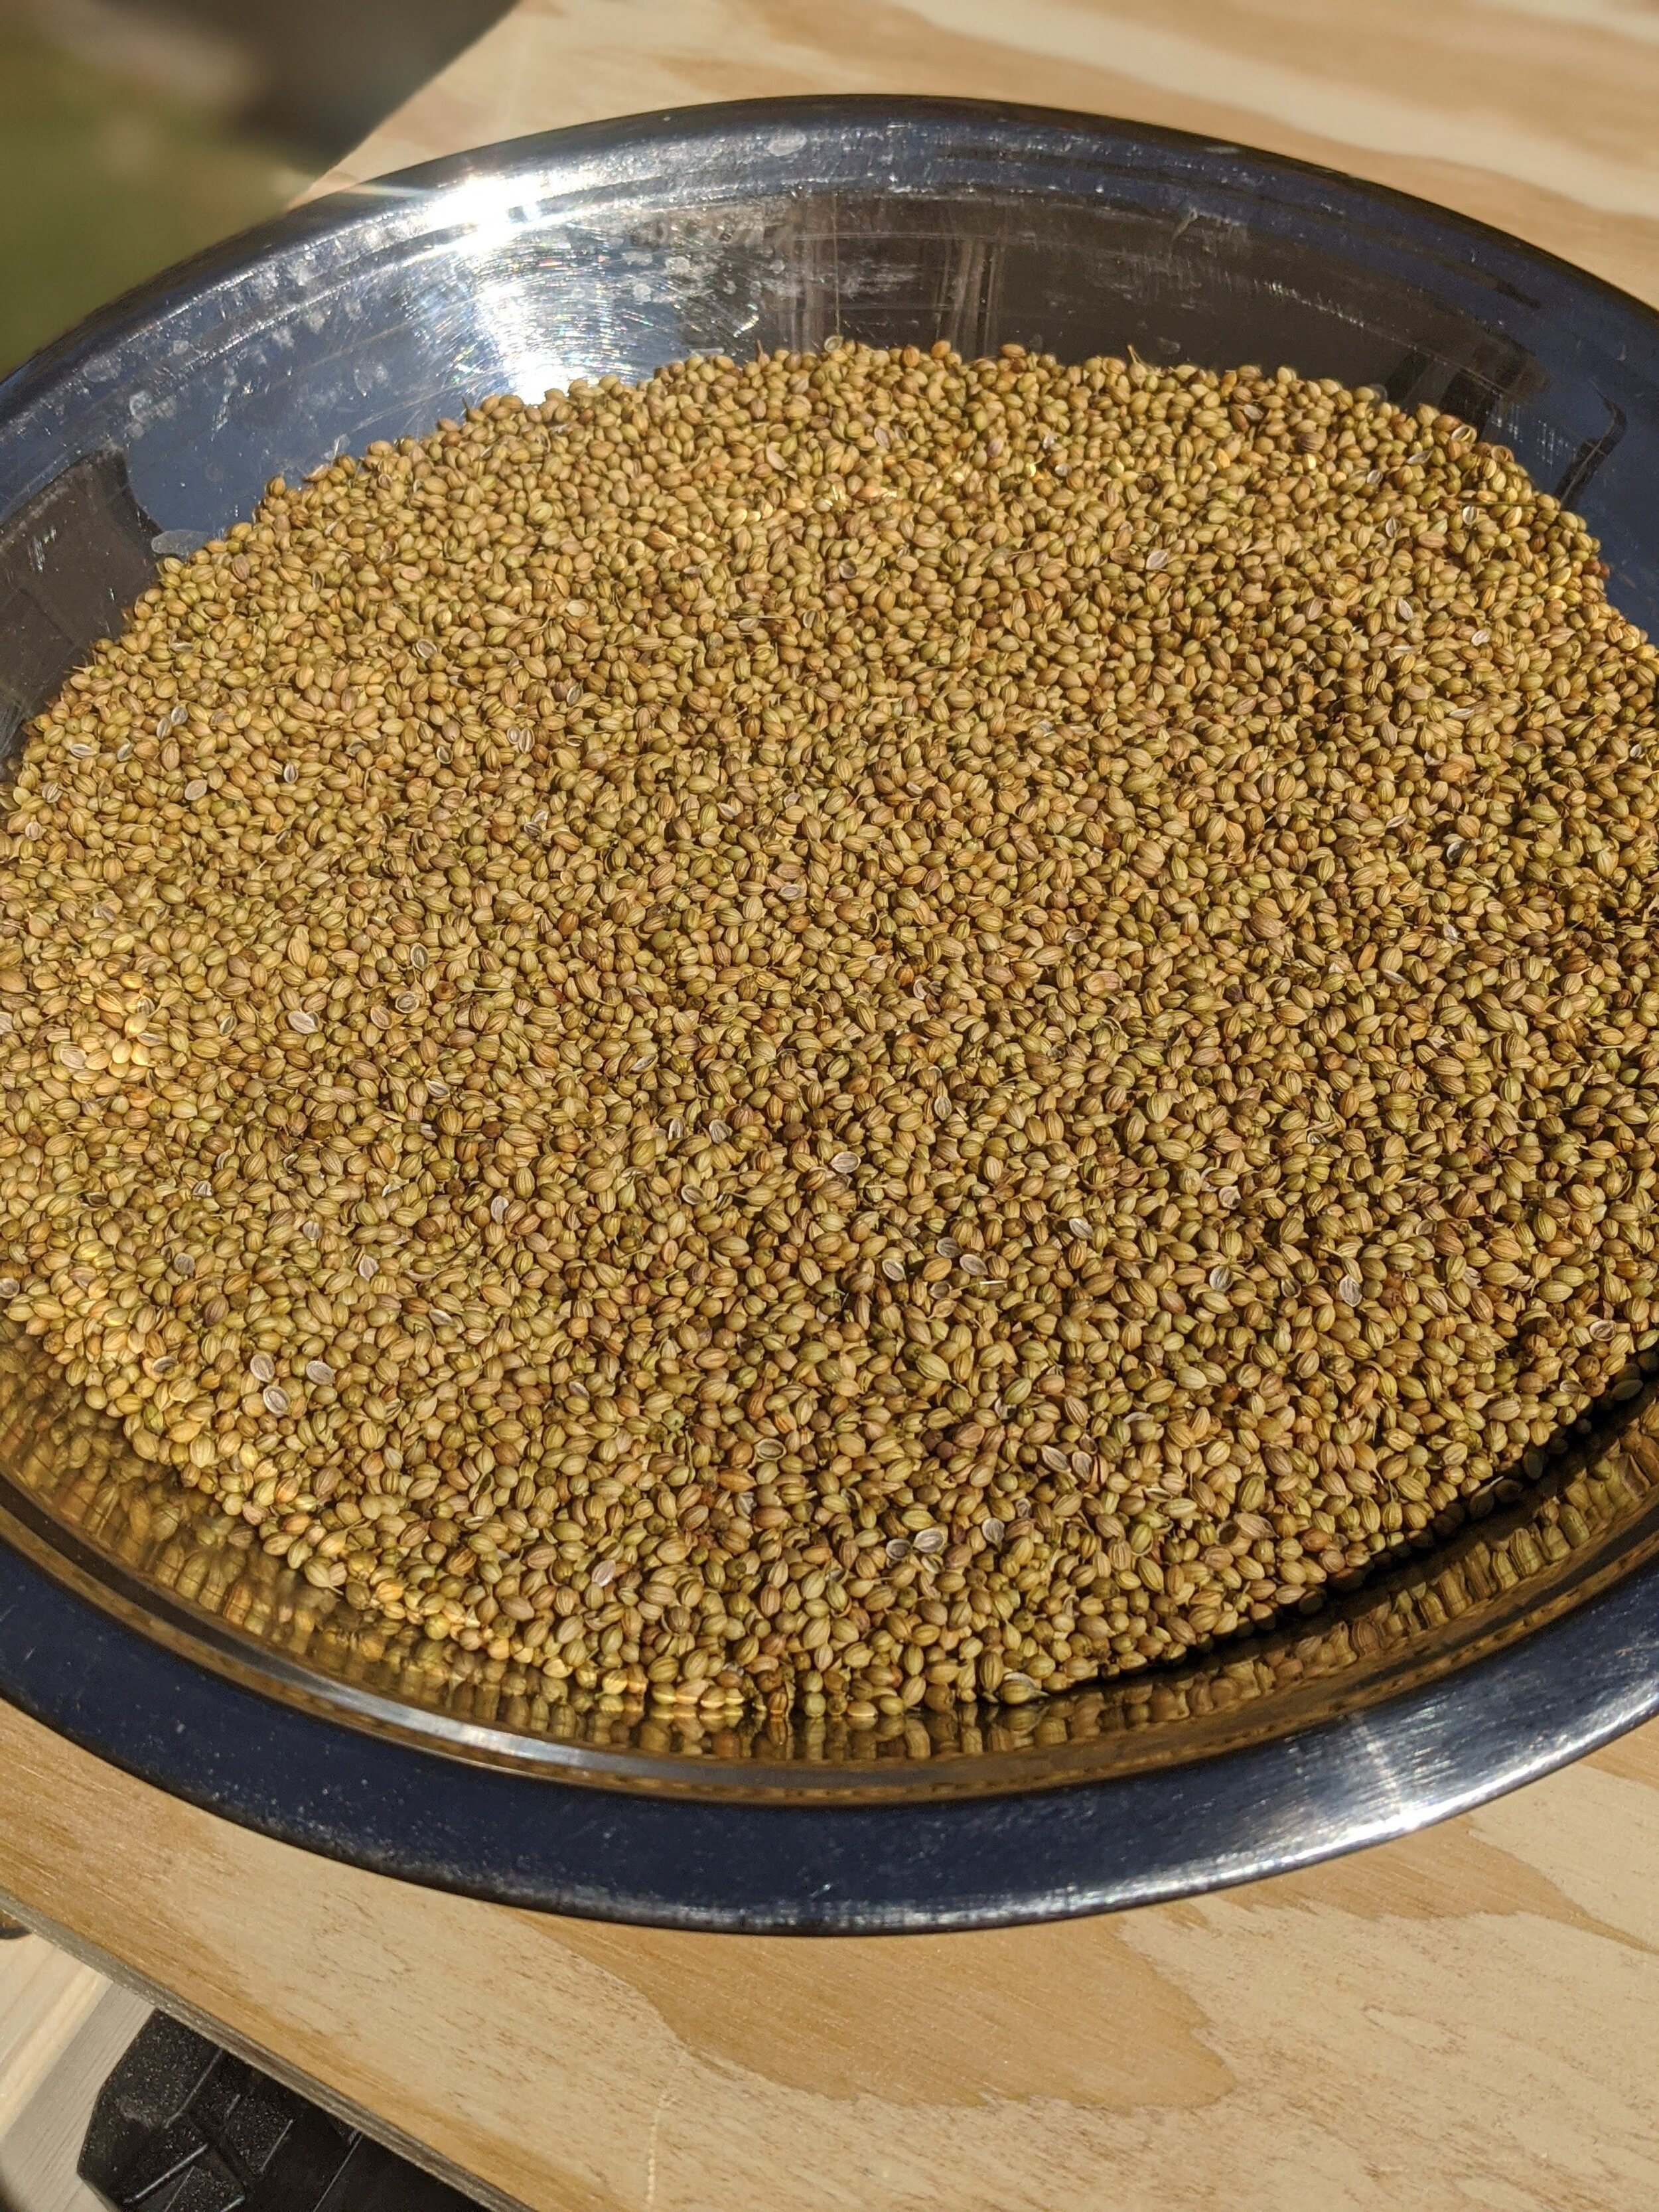
Coriander seeds - 500 gms
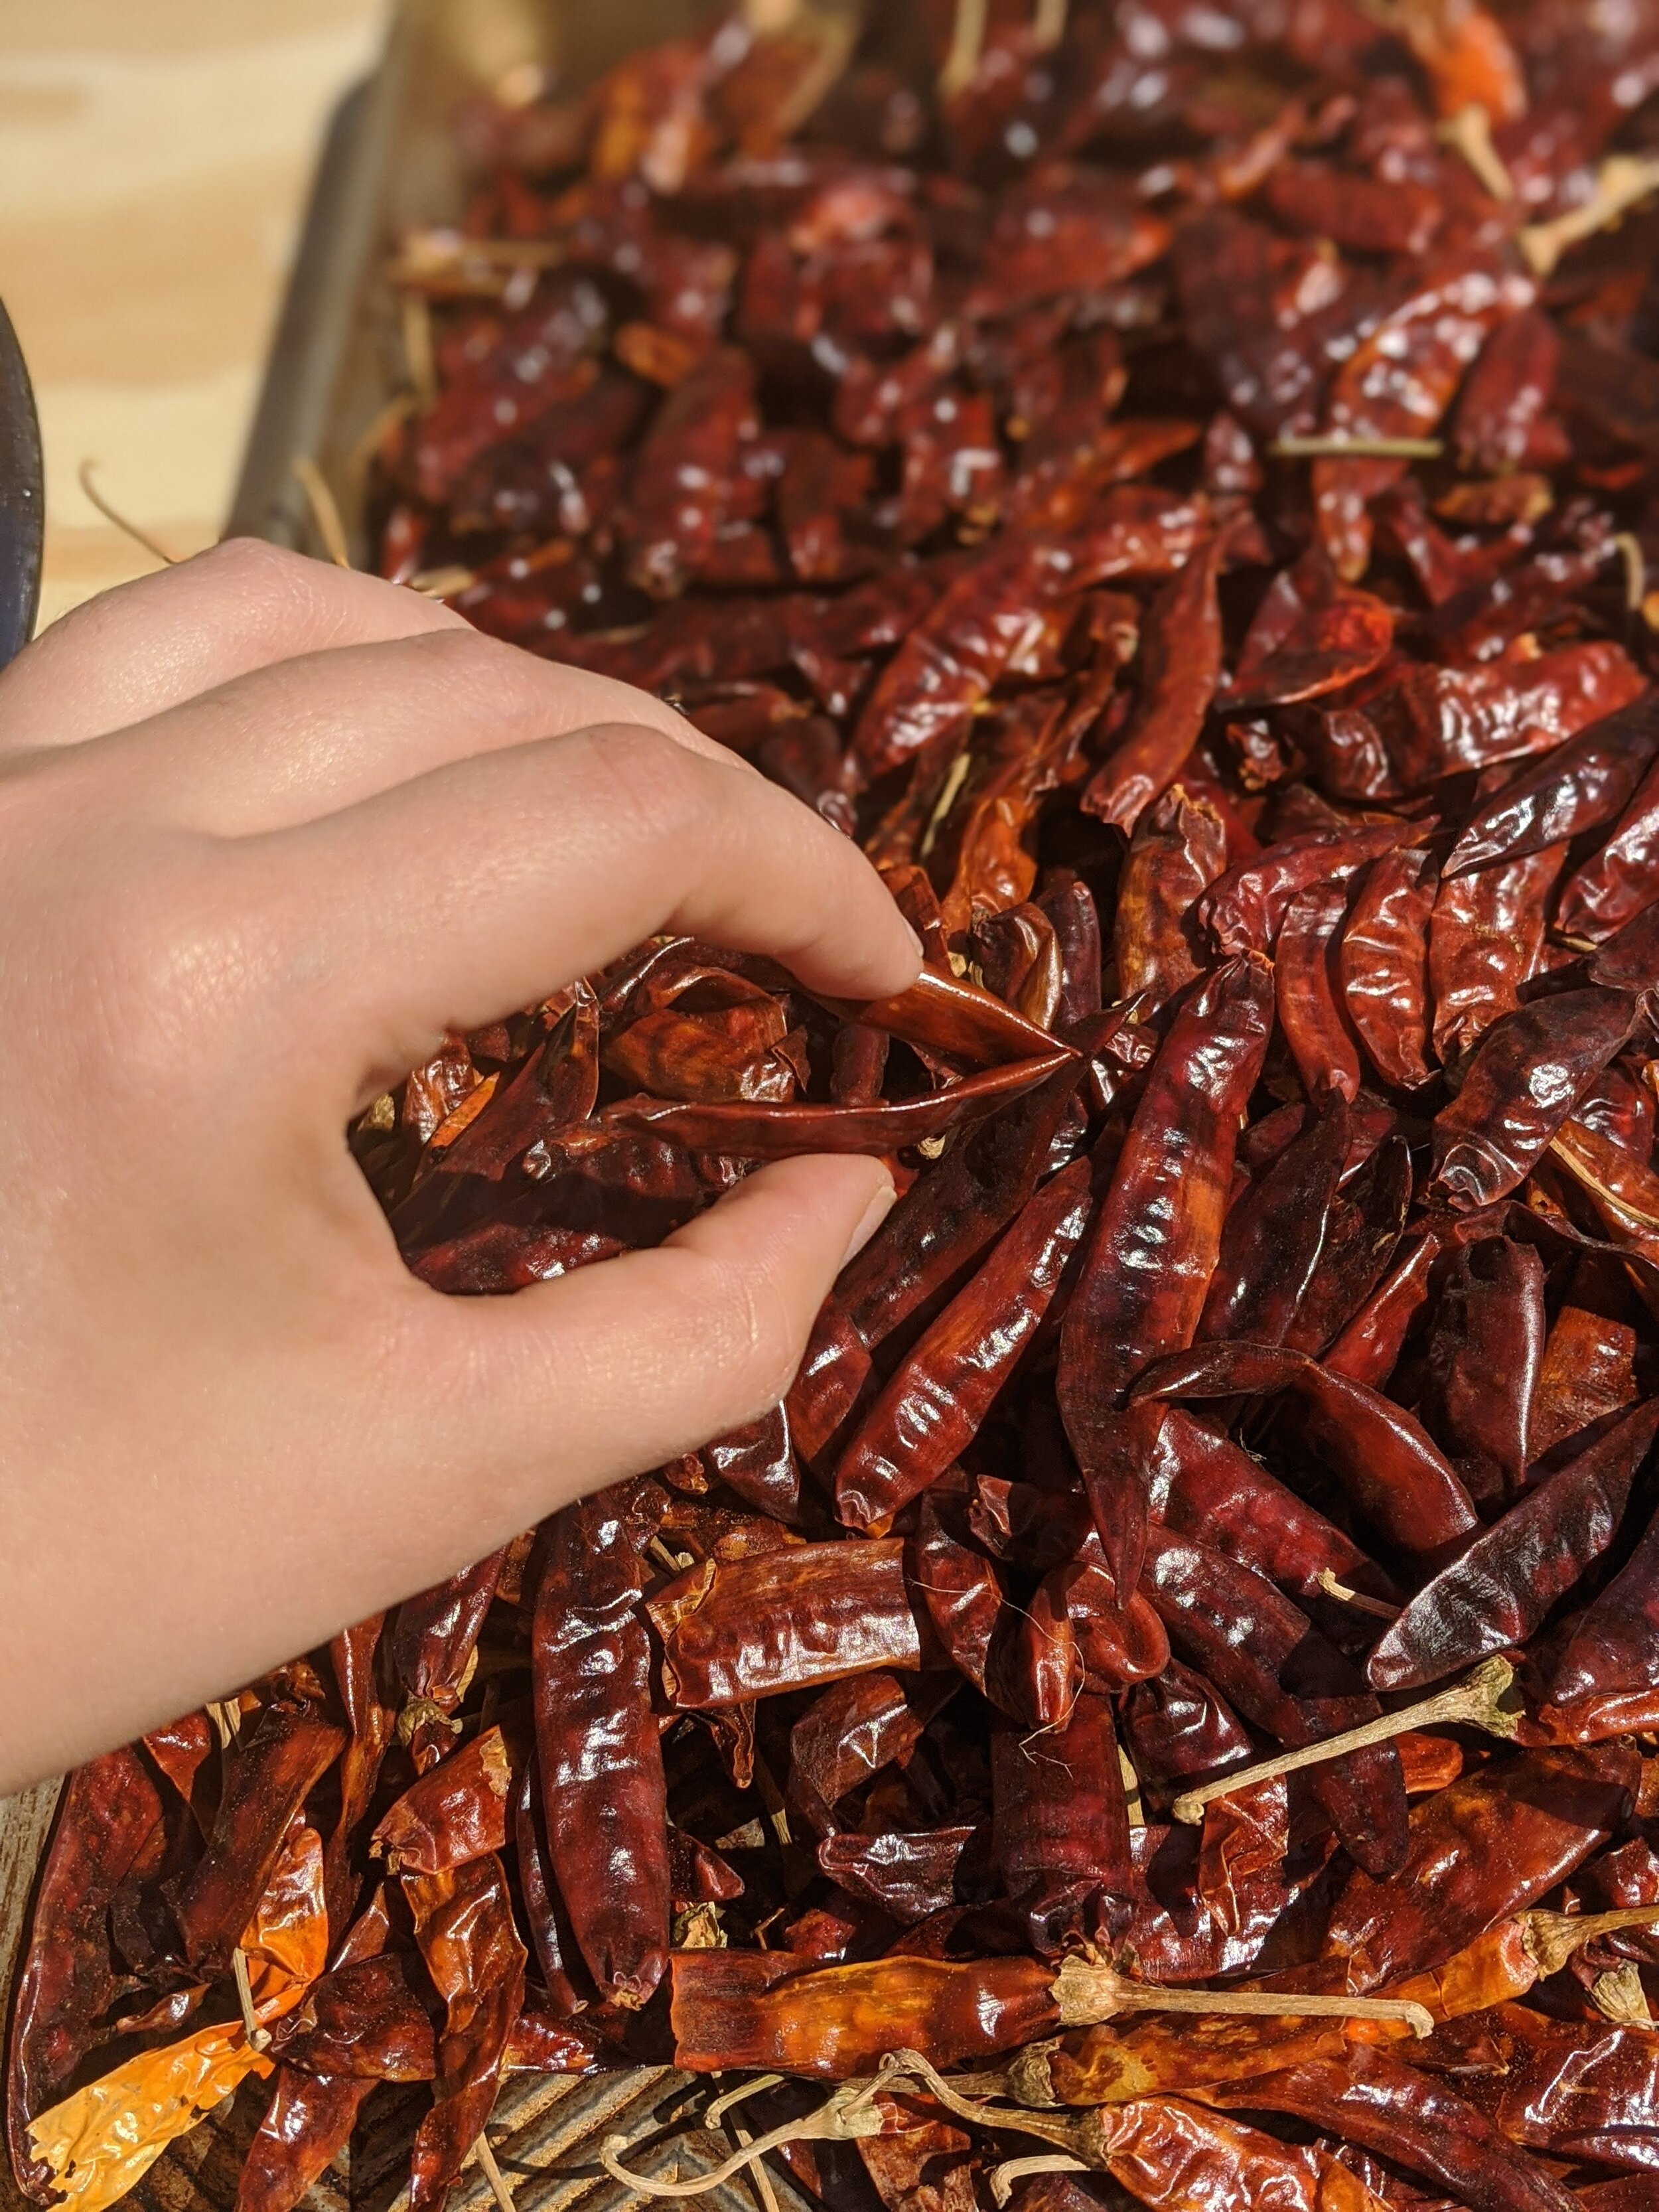
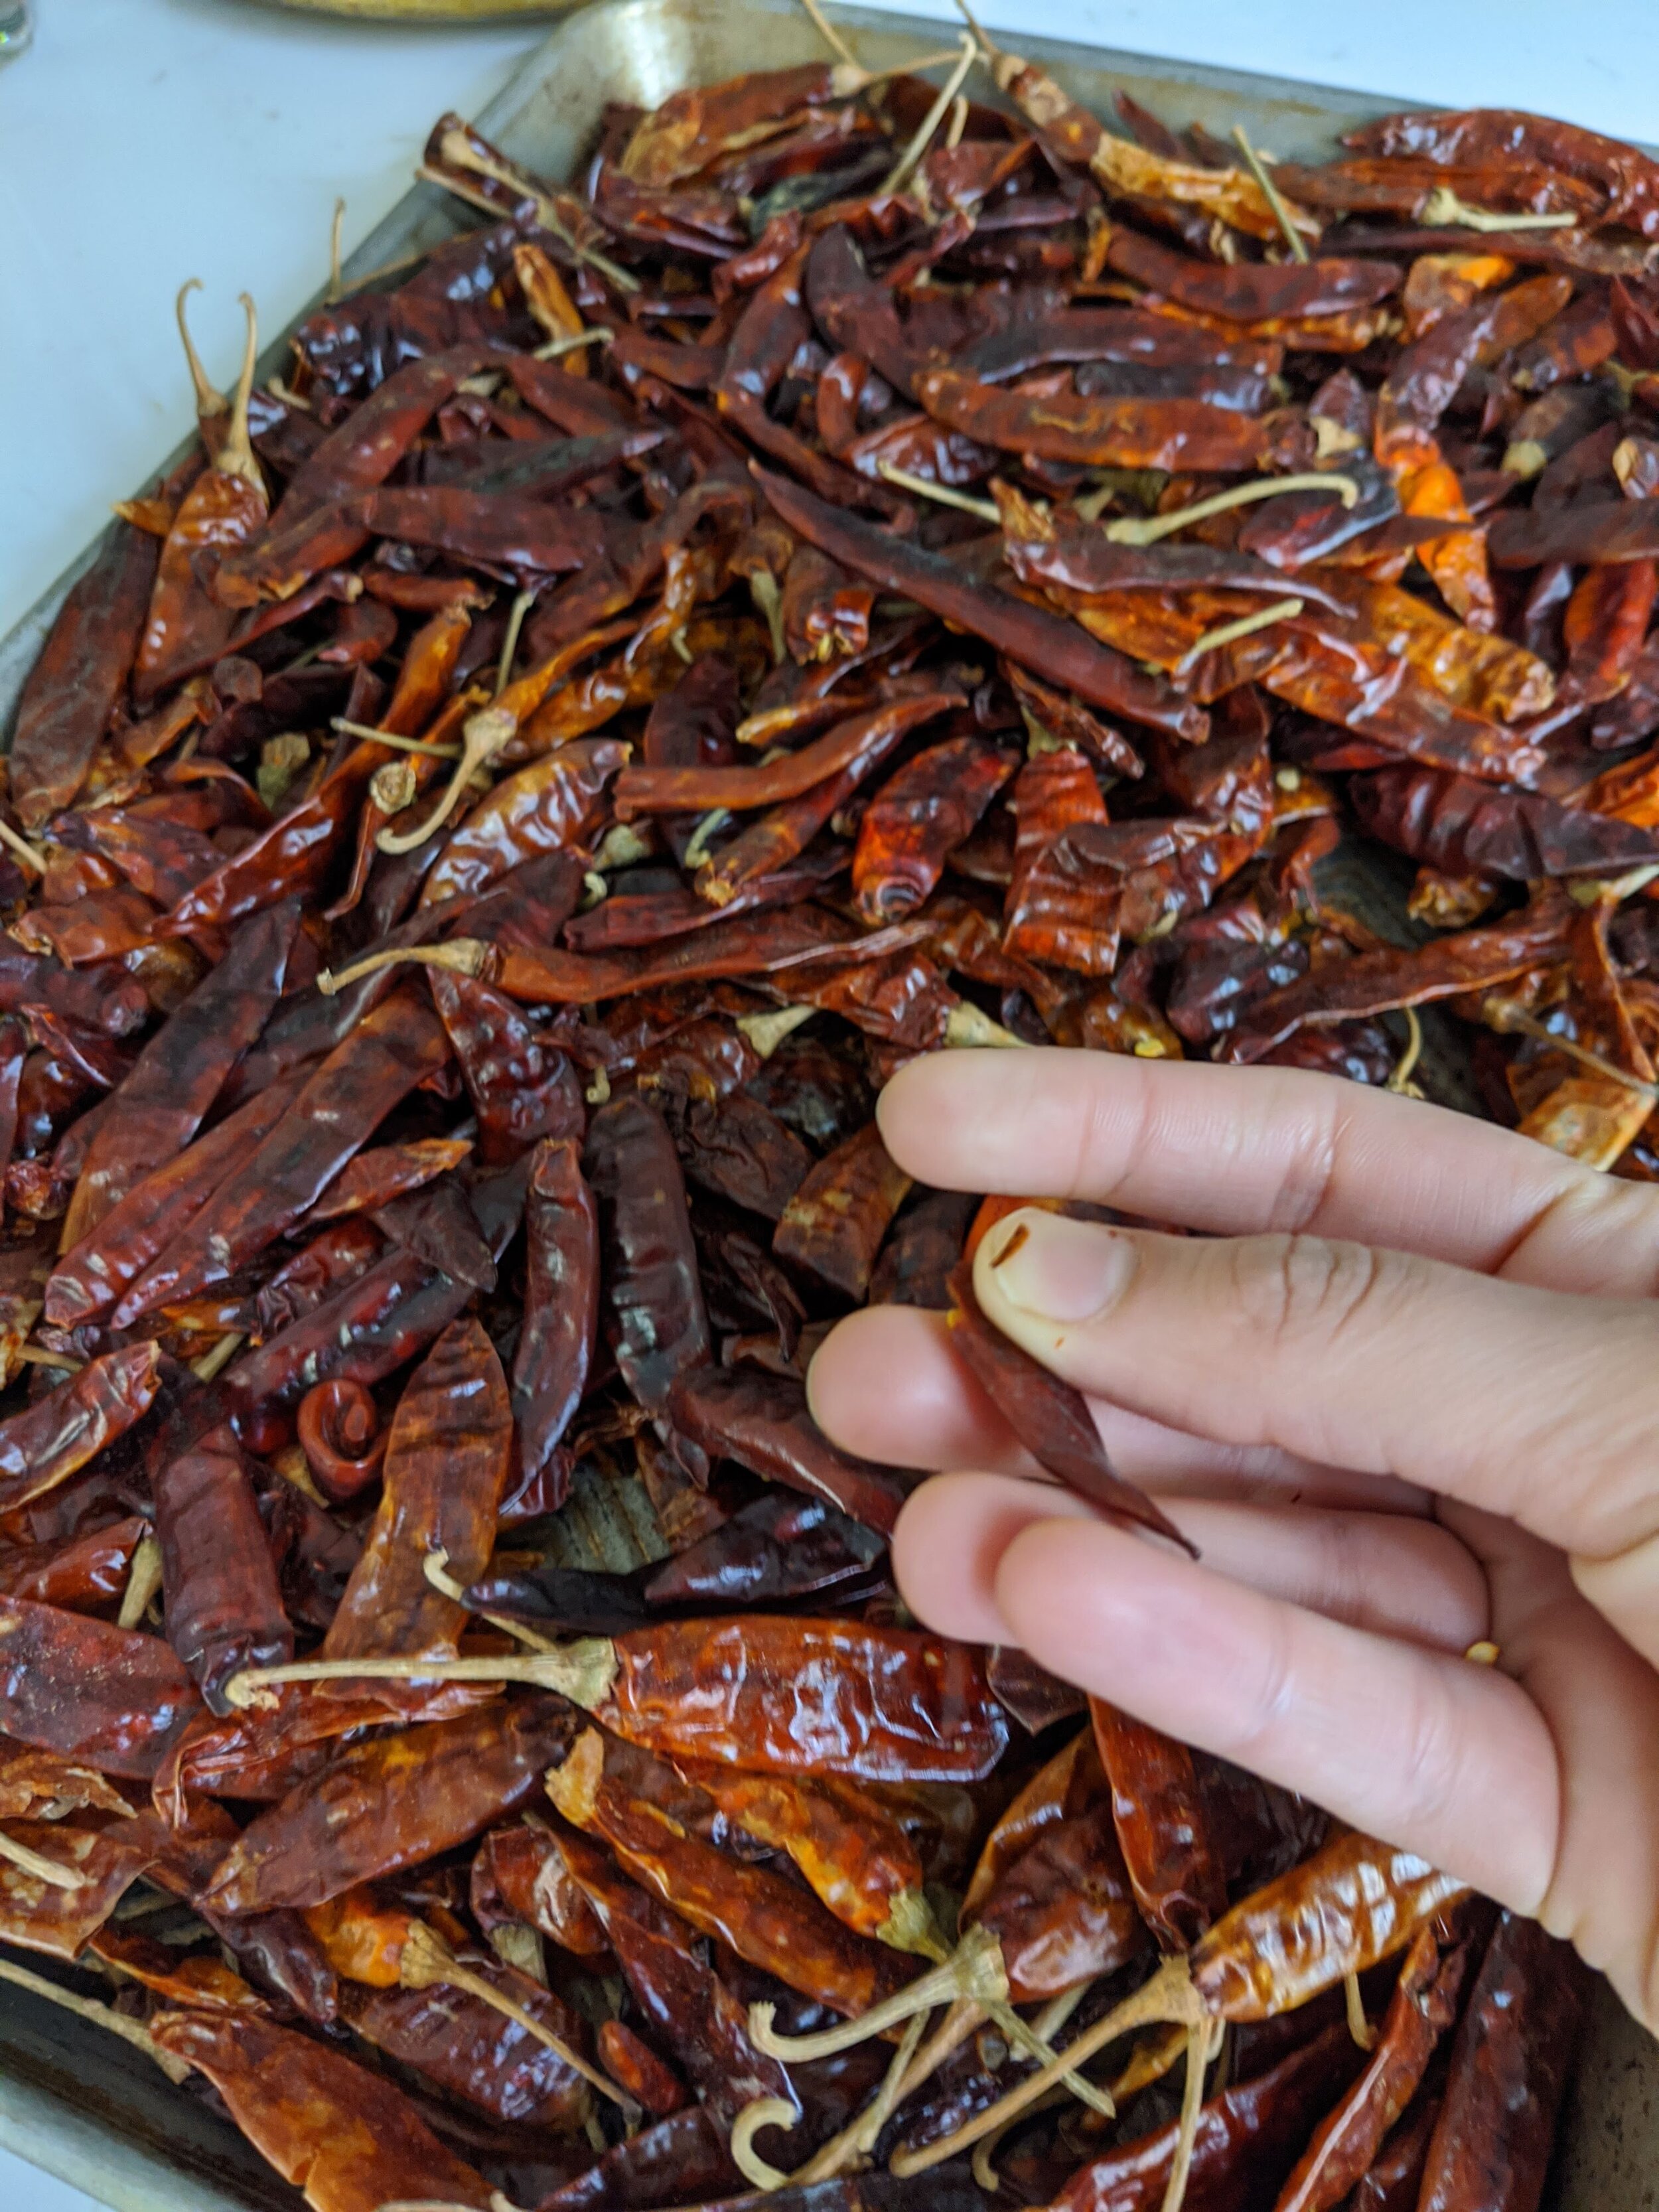
Red chilli - 100 gms
Toor dal - 400 gms
Cumin seeds - 200 gms
Black peppercorns - 200 gms
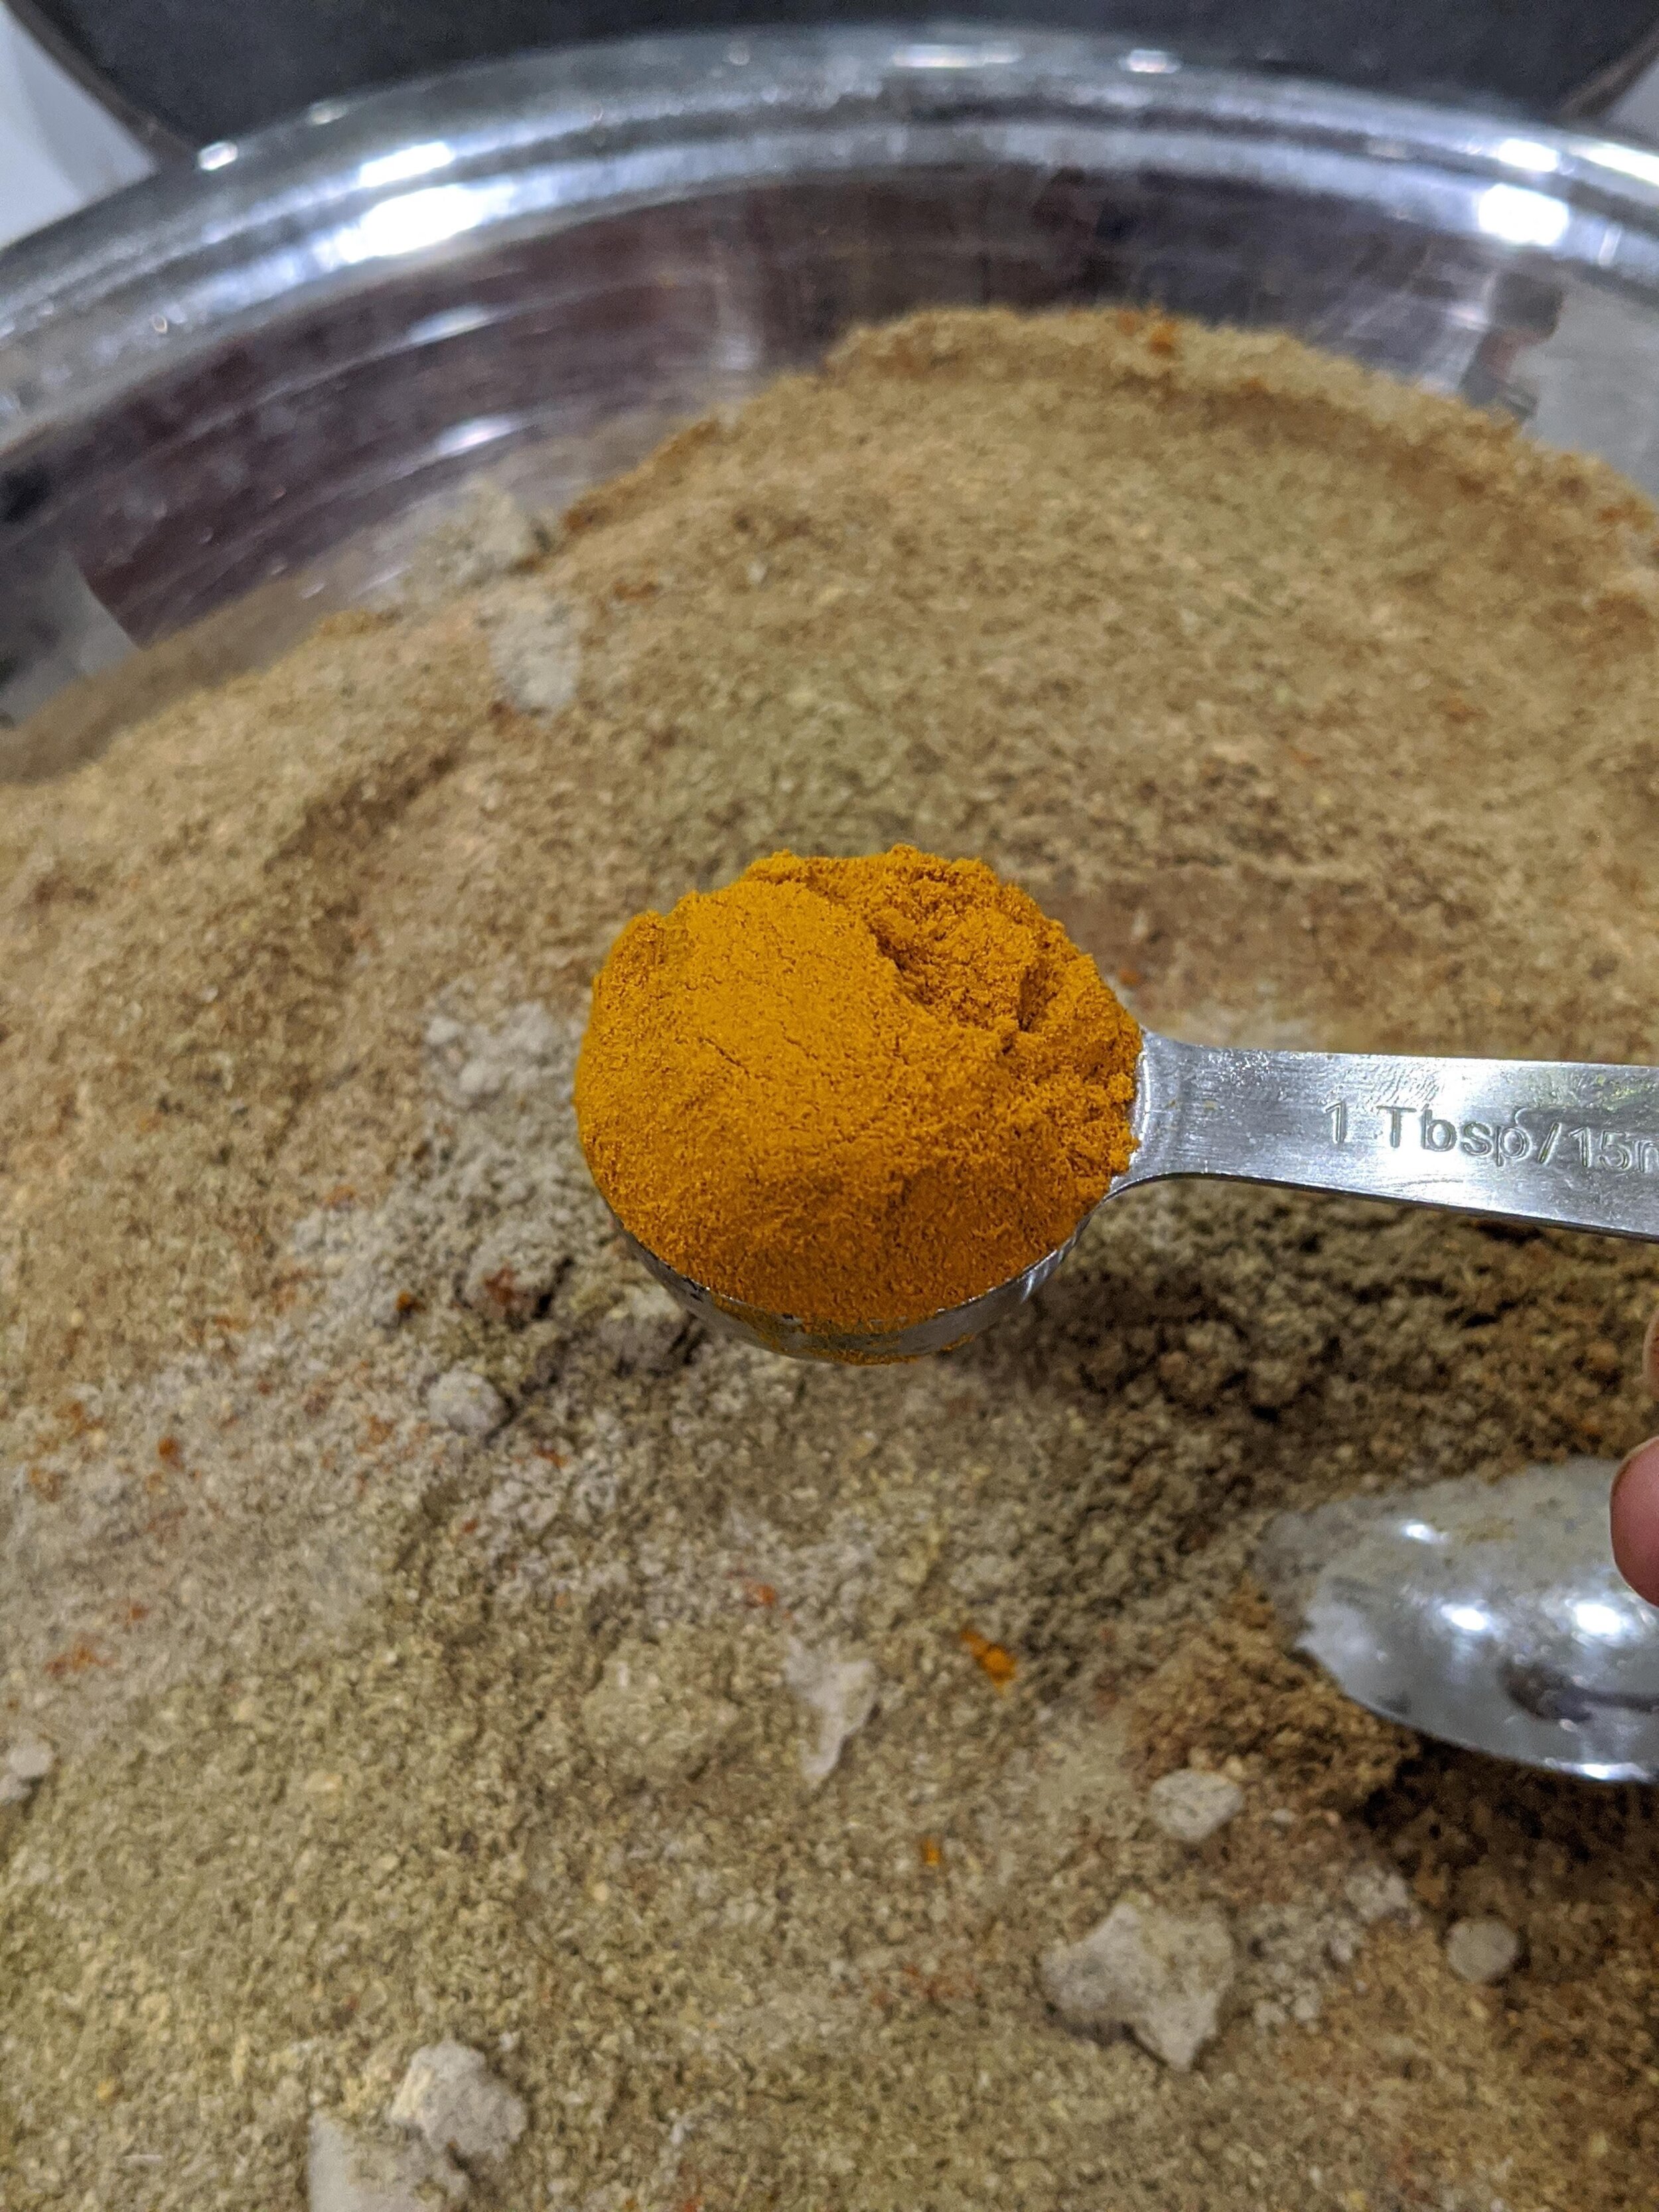
Turmeric powder - 2 tbsp
Direction
For dry roasting
If you choose the dry roasting method for making a big batch, I suggest dry roasting and grinding separately. Keep the heat on low while dry roasting. We don't want burnt smell each time we make rasam. Also, save the urge to speed up the process by adding oil. The main reason for sun drying or dry roasting is to remove all moisture. If oil is added to the bulk items, it is bound to be released from the food.
For sun drying

HOW AND WHERE TO PLACE IT?
Place it in a big clean cloth or individual trays on full sun. I placed it over a table to avoid insects from my yard. In India, I would place it on a terrace using a dhoti kept for it and cover it with another.
HOW LONG TO KEEP?
As my mom says, it should be sunbathing until the chillies are brittle and coriander seeds sound like a salangai (bells). As shown in the picture you can see how the red chilli was tearing before sun drying and breaking after drying. Essentially this needs to be done for 2 - 3 days based on the weather.
HOW TO GRIND?
In India we will usually give it to mills along with our other yearly bulk supplies. Mill is a good choice if your grinding needs are for more than 2 kgs. But we are in the USA with a family of 4 now. So I use my blender (Vitamix) for most of my grinding needs. Including sambar powders and porridge mix. Especially for rasam, grinding at home is more than sufficient.
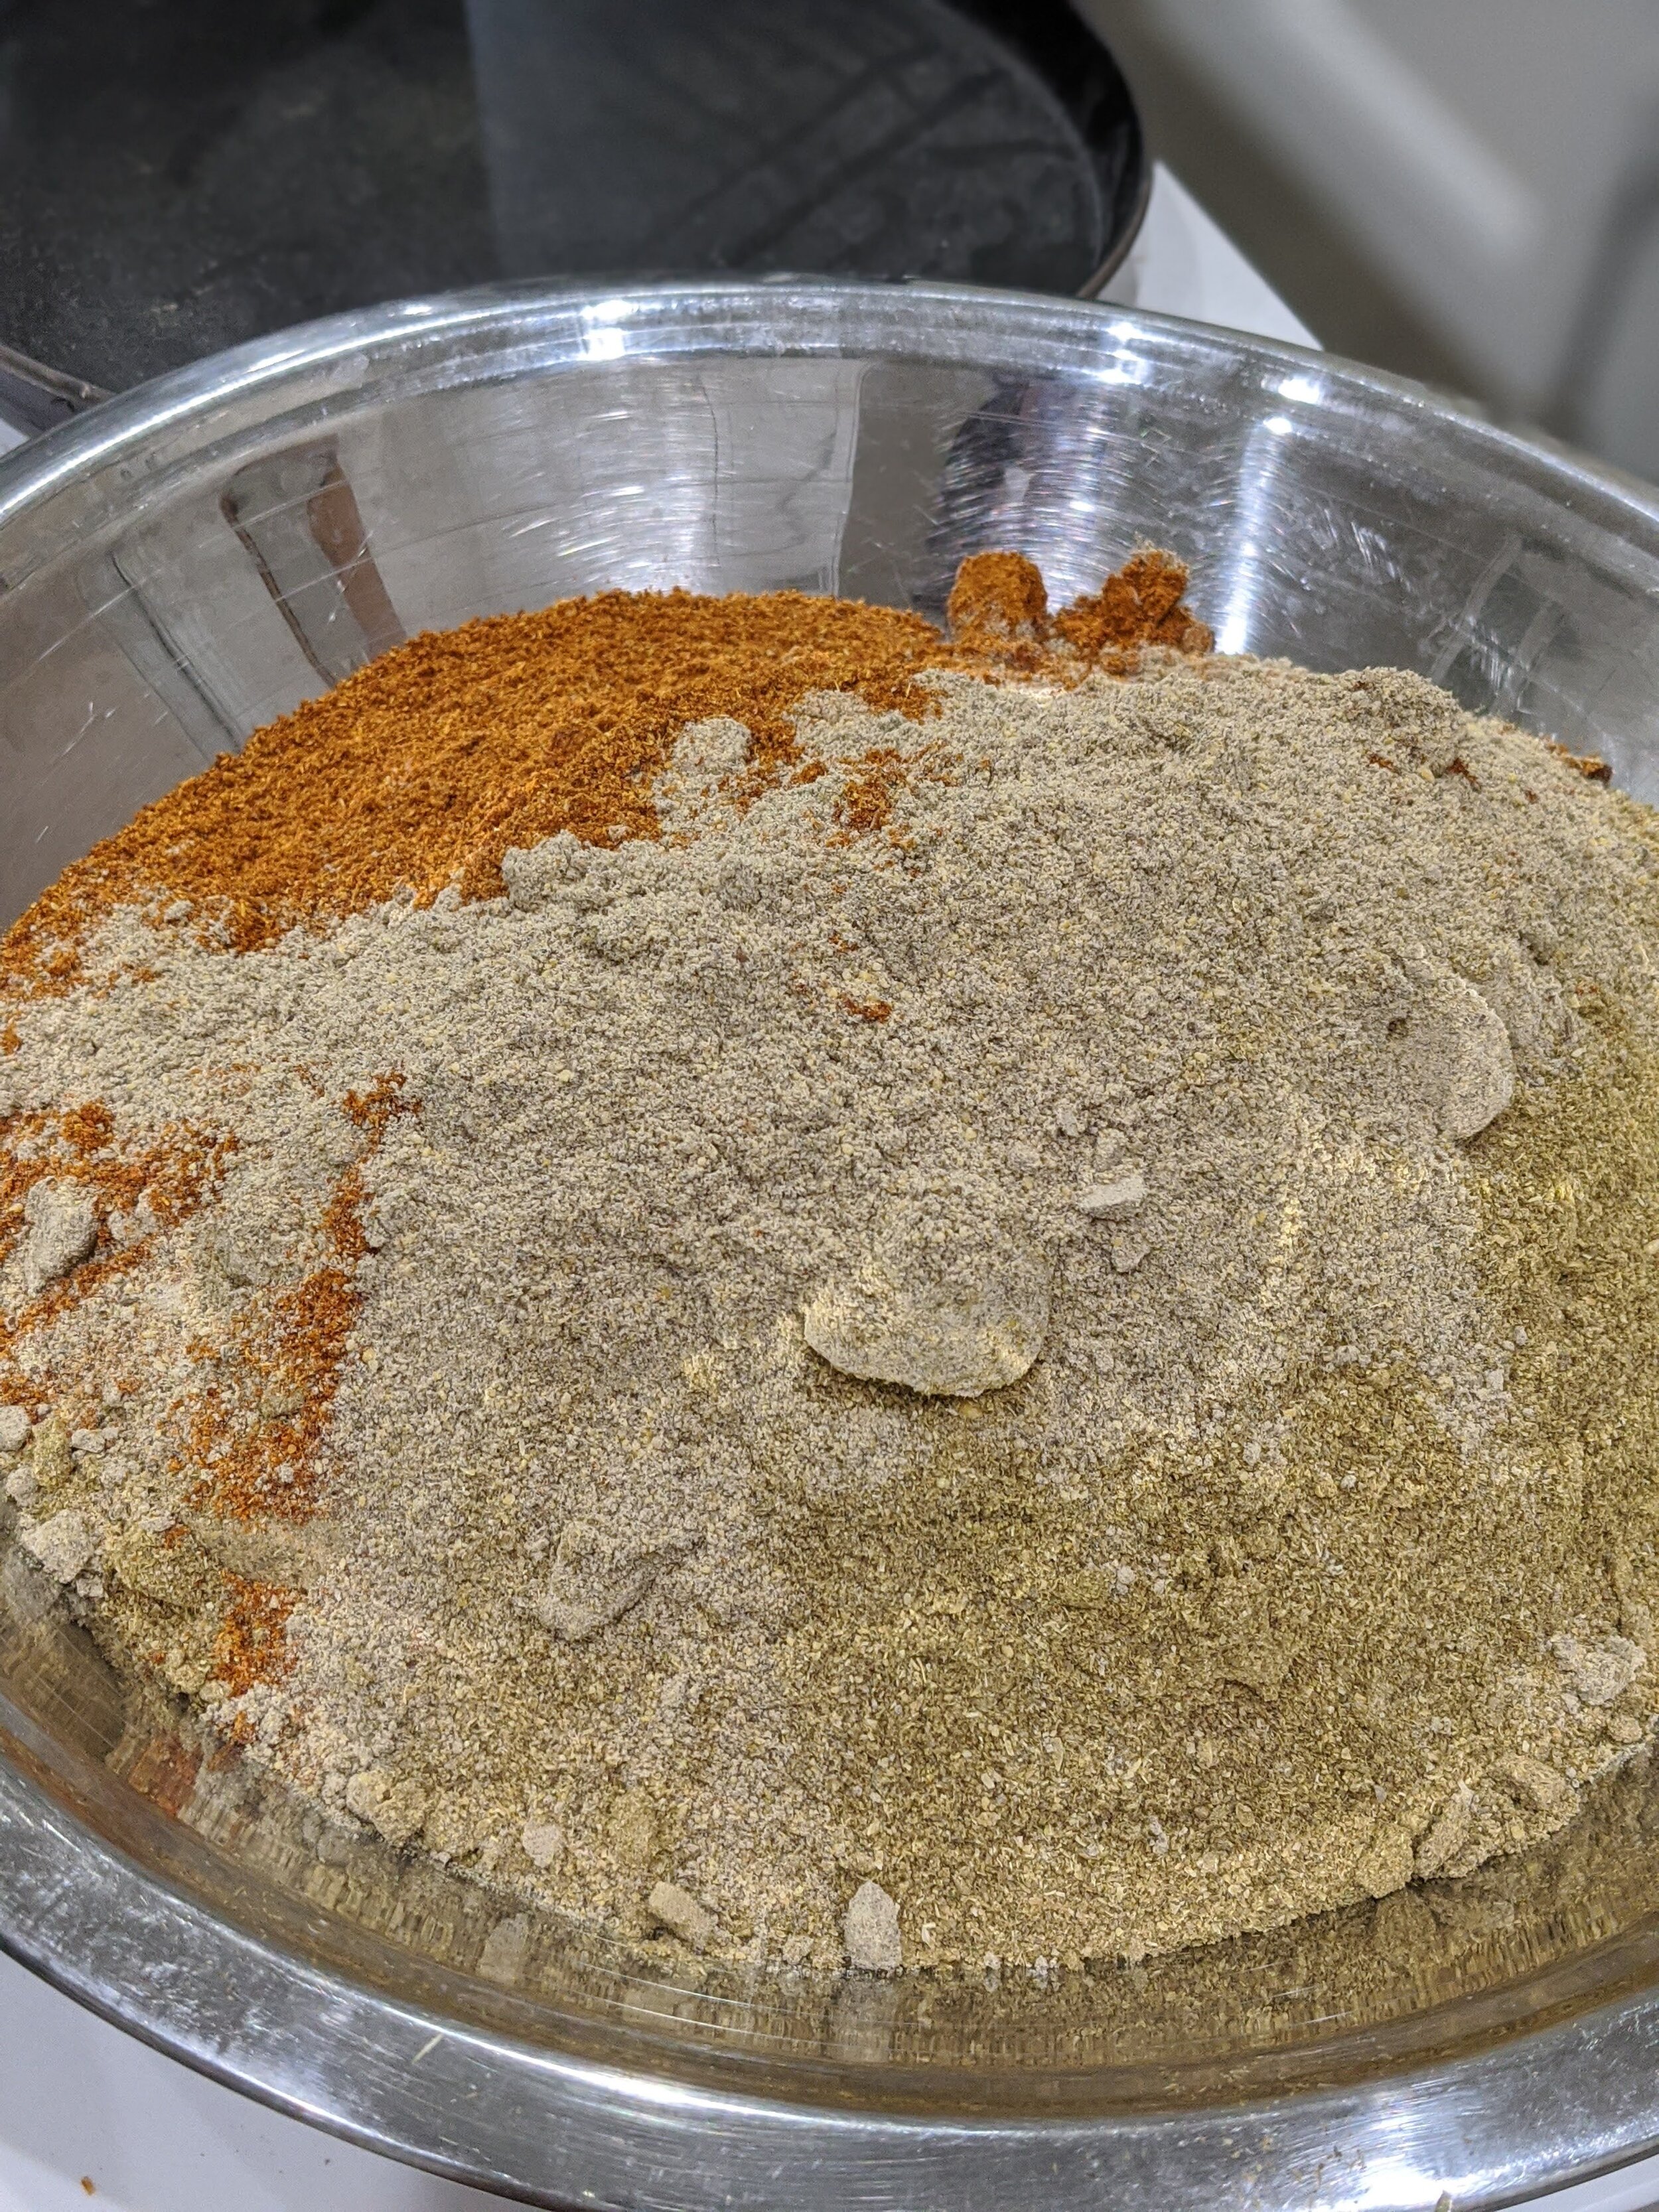
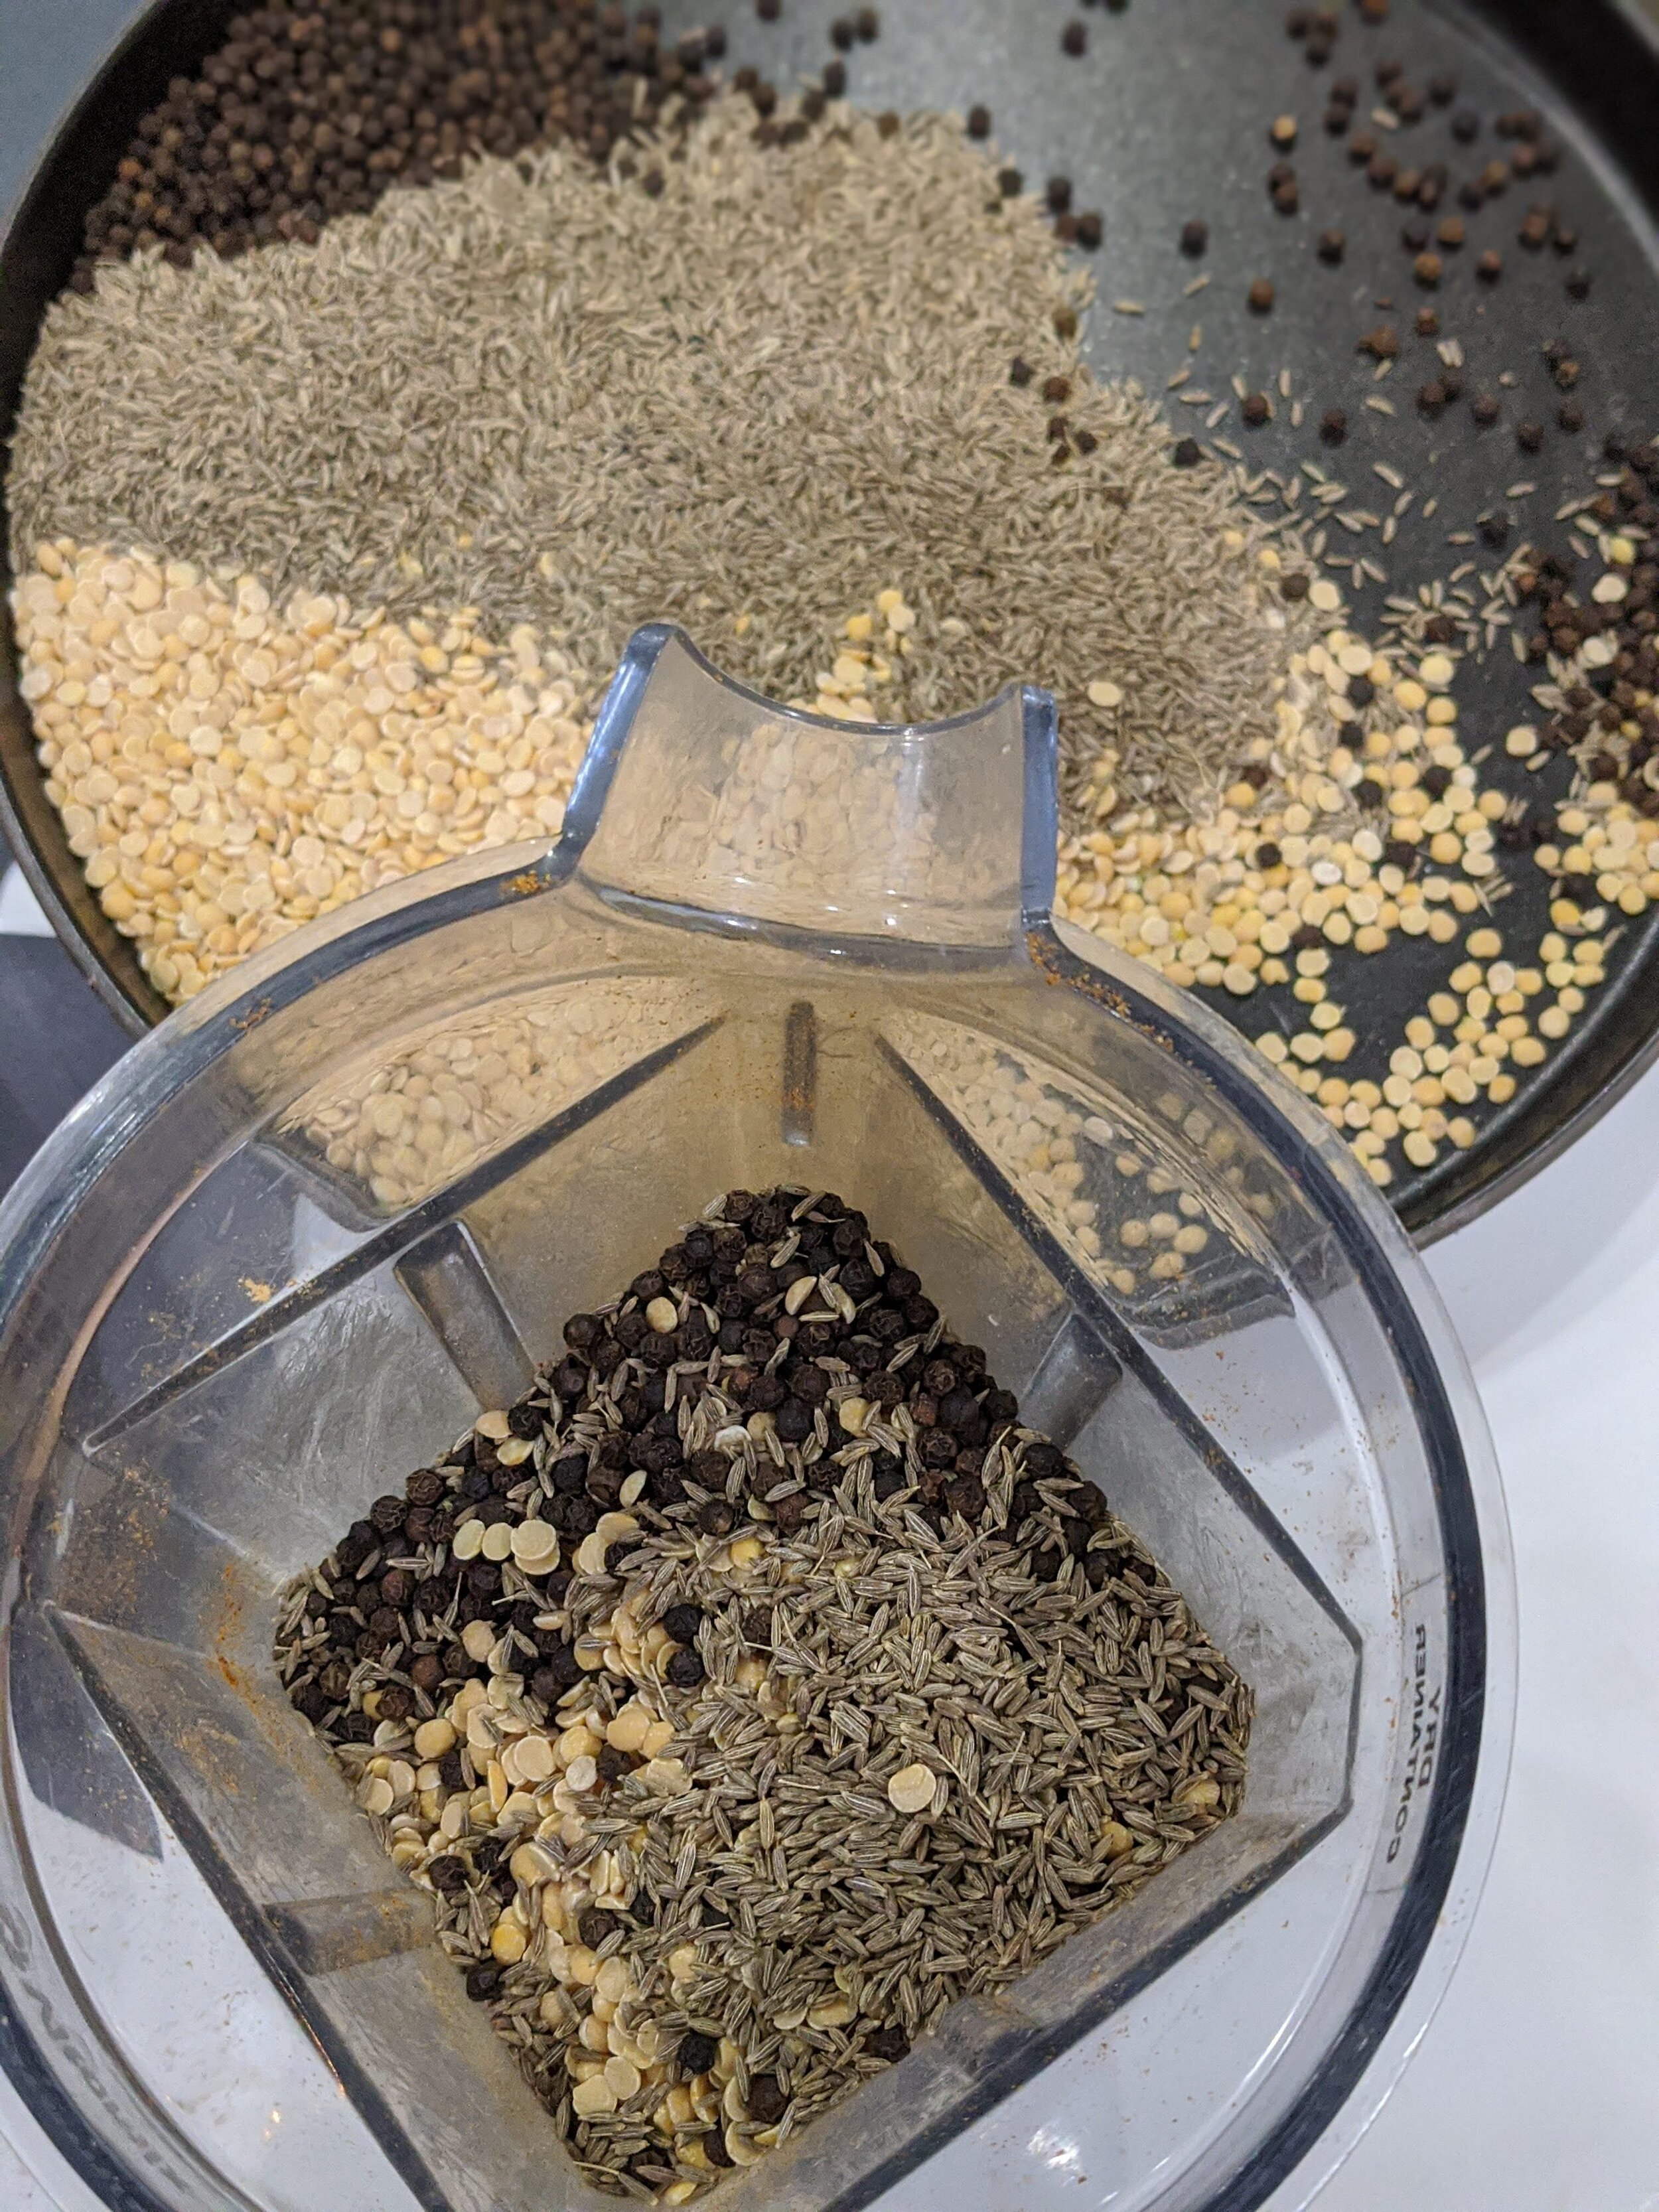
I usually start by grinding, red chillies and coriander seeds separately. Then move on to grinding toor dal, cumin seeds and black peppercorns in another batch.
HOW TO STORE?
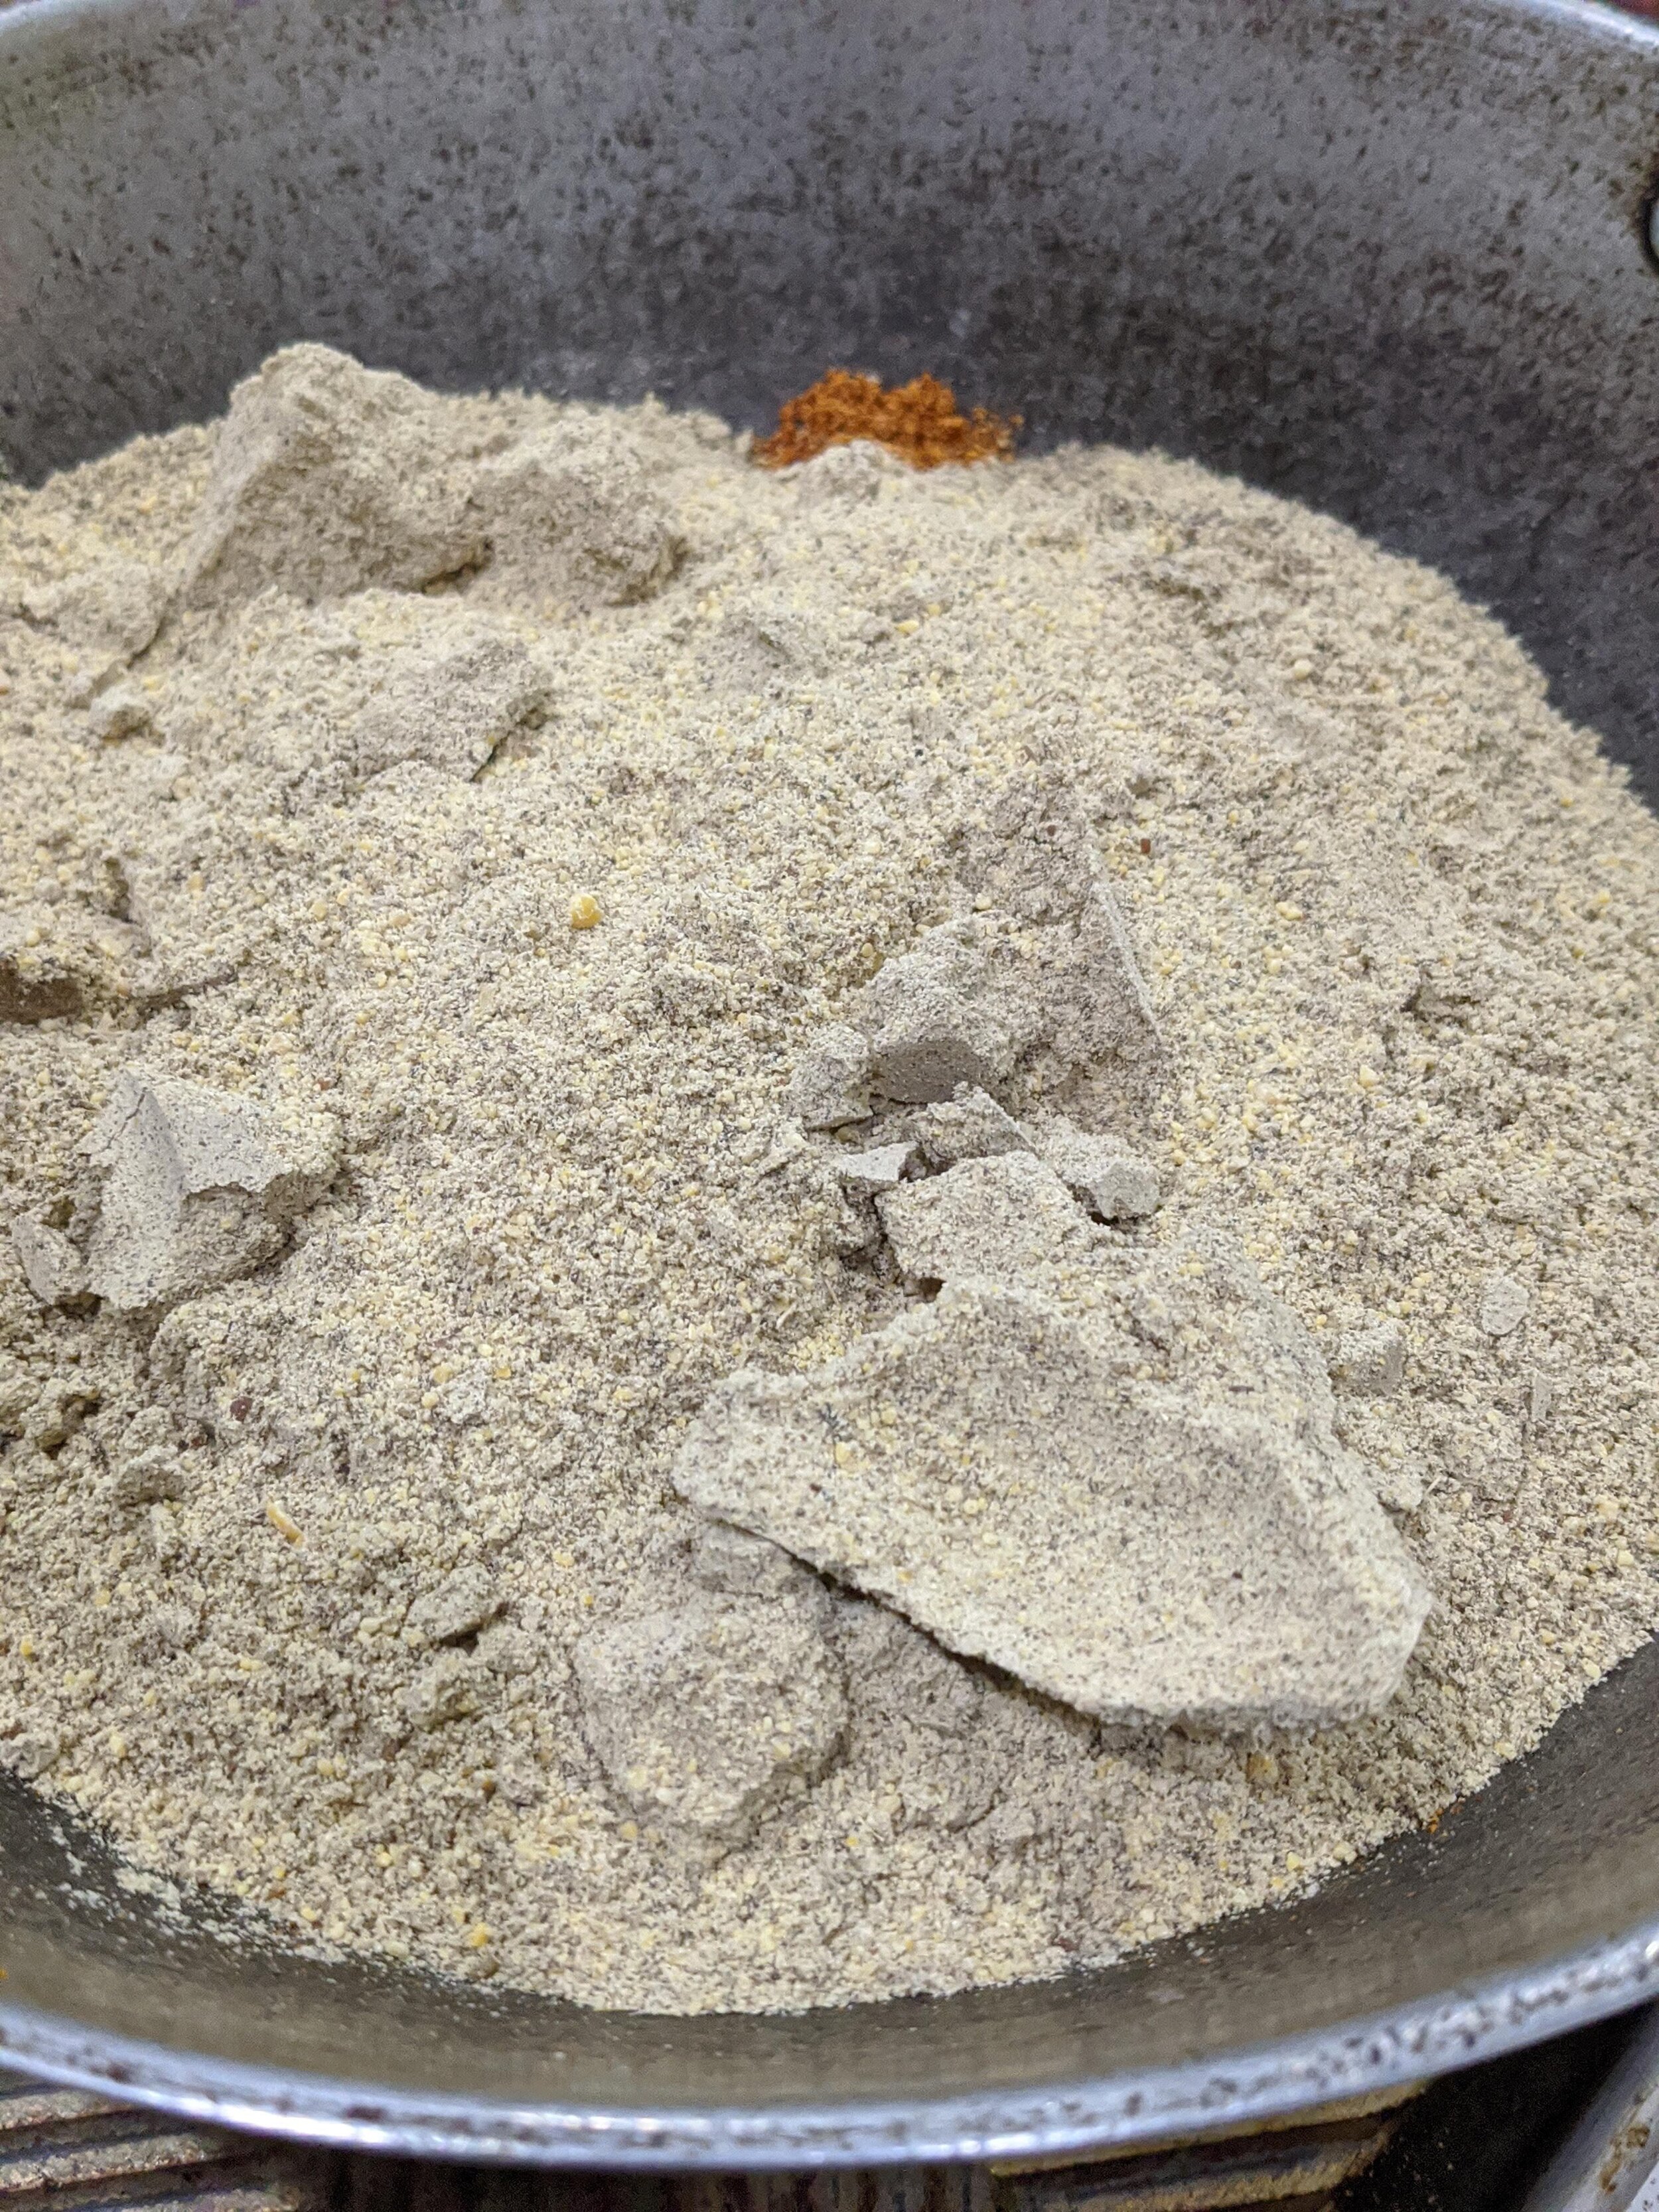
After grinding, spread it in a plate and leave it on the counter for half an hour to avoid moisture build up. It is important not to vacuum seal, immediately after grinding. Once its cooled down, store it in a vacuum sealed container.
Notes
Rasam is very personal, and this combination works well for my family. Although even within family's there can be various versions. Please adjust based on your liking
This rasam is mainly for paruppu based variety. I also have recipe for thipli and jeera rasam, which calls for different ingredients.
I used half Byadgi chilli (for color) and half long chilli (for hotness), you can change the quantity of chilli to your taste

Enjoy and happy cooking!